Range Rover Sport body work revitalisation -
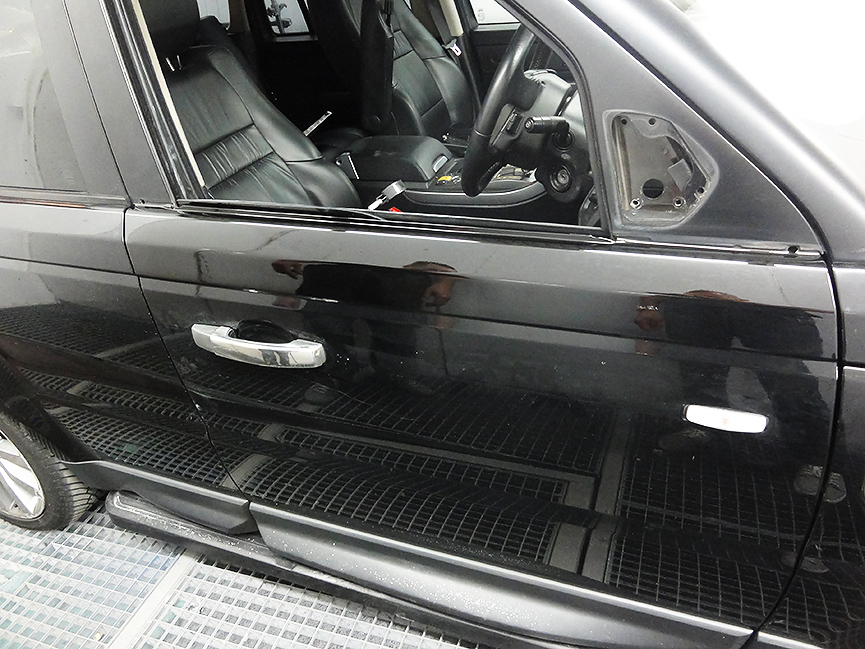
This particular Range Rover Sport you may have seen from our previous blog post, where we have had installed RT style fibreglass front and rear lips. That time we advices the owner on few bits that were really spoiling the look of his car. This included a nasty fracture in metal of front door, badly scuffed front bumper, cracked rear bumper and overall poor condition of the bodywork – all vital points and when corrected the car would be looking crisp.
Ideally, we would want to have the bumpers re-sprayed together with lip spoilers because they would have to be bonded onto the bumpers but that didn’t suit the customer at that time.
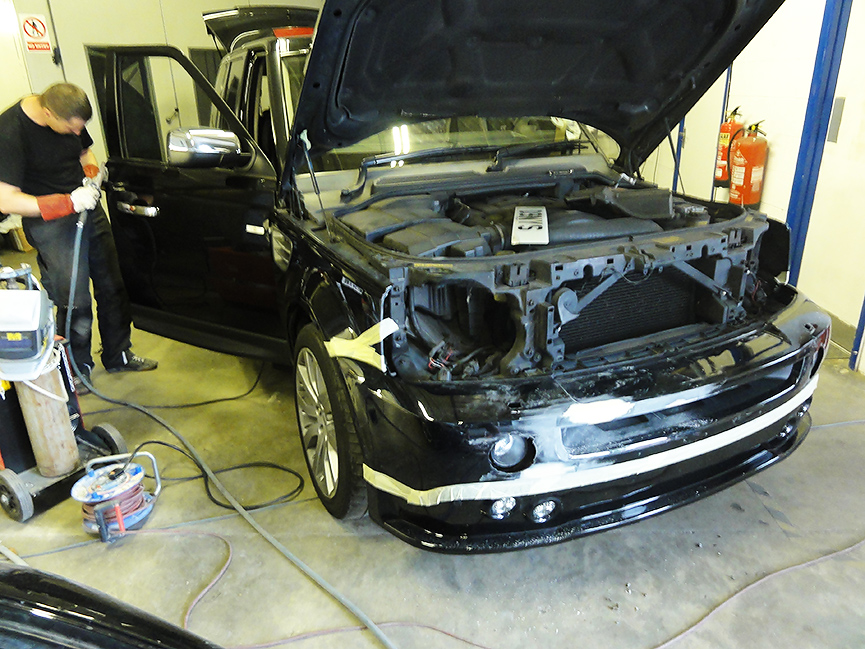
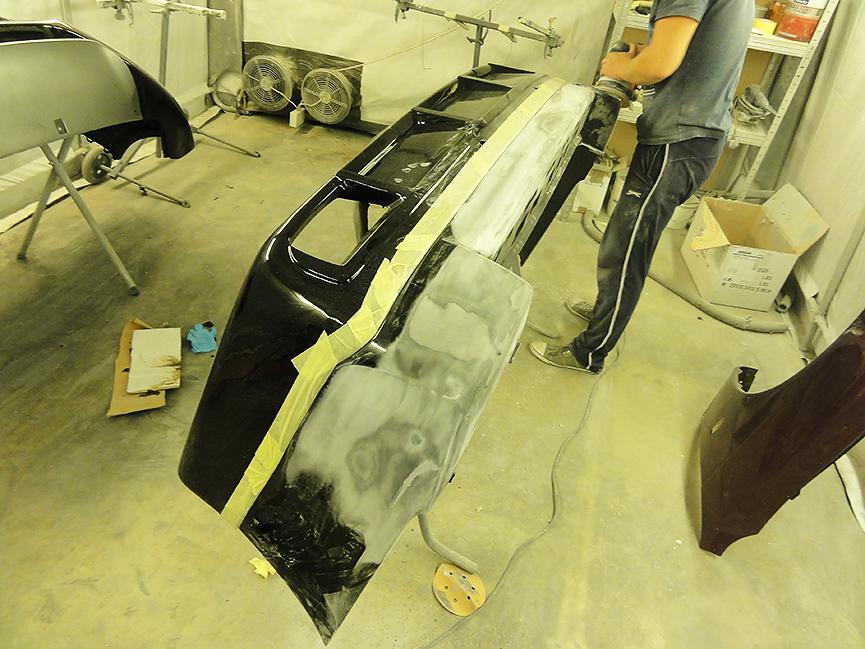
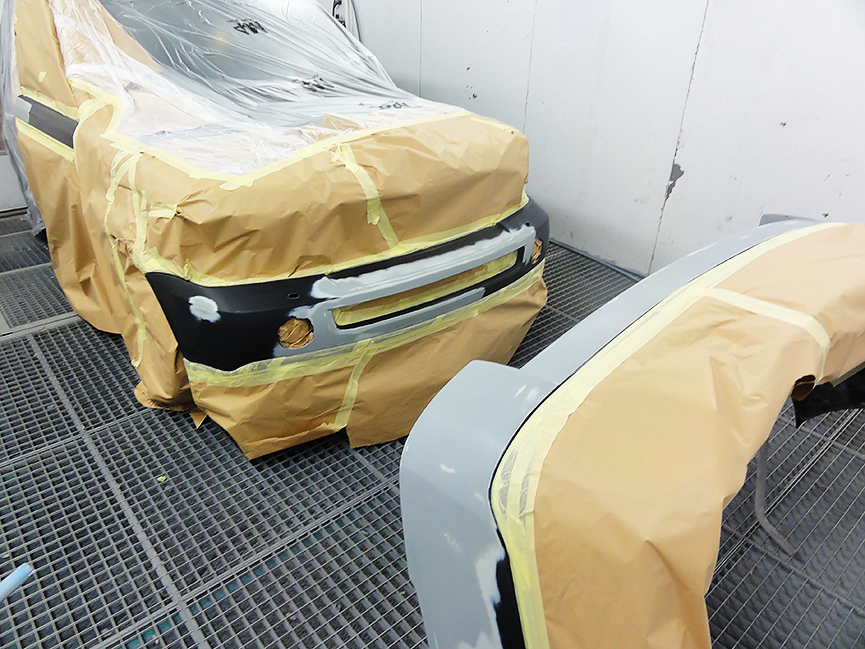
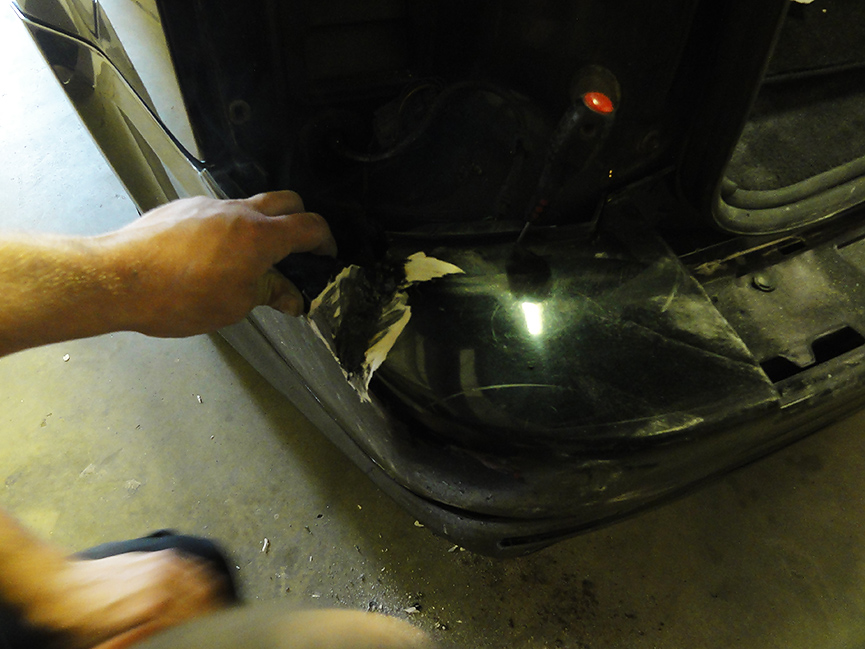
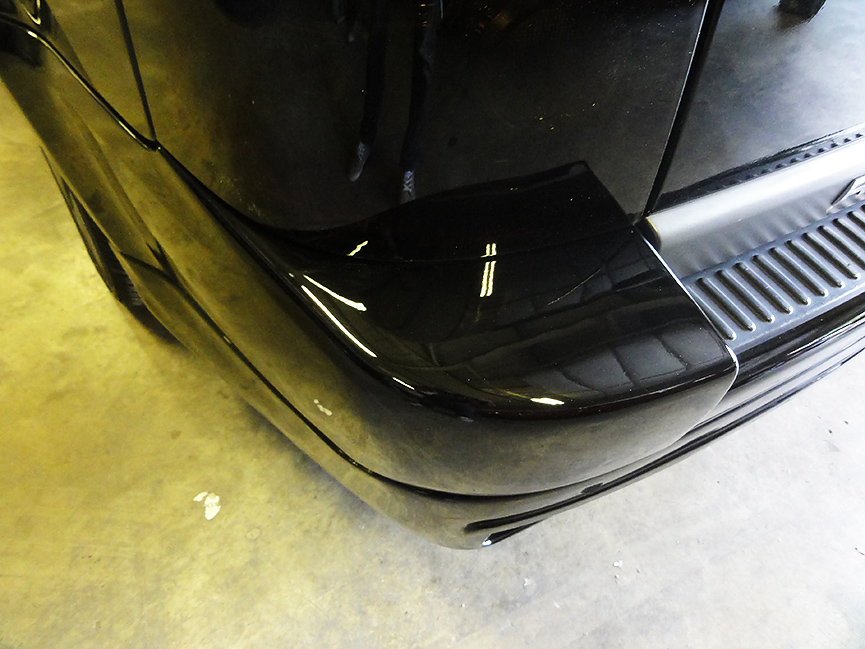
RT crew began the process by attending to the crack on a corner of the rear bumper. First it was made neater and another peace of similar plastic was used to patch up the hole. Plastic welding elements were used to bond everything together and fine mesh was implemented underneath the repair to reinforce it. This bit was then ready for filler work together with other bad bits of front and rear bumpers. Unfortunately, in current scenario RT crew had to do what is a for forbidden practice at our auto centre – masking up trims on a part that is being sprayed. As explained earlier, bottom bumper lips were already bonded onto the bumper using body adhesive, so removing them was not an option.
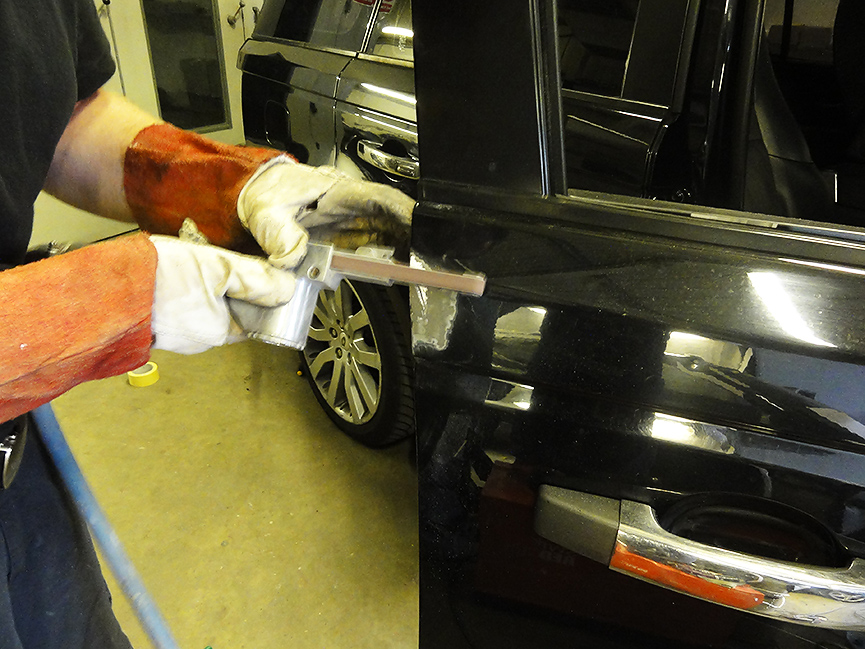
The damage on front door caused the metal to tear and fold outwards. First steps were to put in place whatever particles possible, then sand-belt remains, weld damaged pieces together and tidy up the welds. All exposed metals are treated with wash primer, which is designed specifically to provide resistance to corrosion. Only after that application of filler work is carried out.
Once the filler stage is completed and repaired areas gained desired texture and smoothness, parts were primed with 2k primer. We normally give our primer 24 hours to air dry before rubbing it down for the spraying stage. At RT Performance we follow strict system to preparation, no matter how time consuming this can be. For instance, primed parts are first being worked with 320 grid DA discs to remove the top rough layer of primer coating, then we put a guide powder coat over the panel and work with 500 grid DA until black powder is no longer visible. After that, we begin manually work the edges with “superfine” pads, manufactured by 3M. These pads allow access to areas where DA tool cannot access. Finally, we use scotch pad with rubbing paste to smooth the surface further more. All this effort allows us to achieve very smooth finish, with will reflect accordingly after the spraying process.
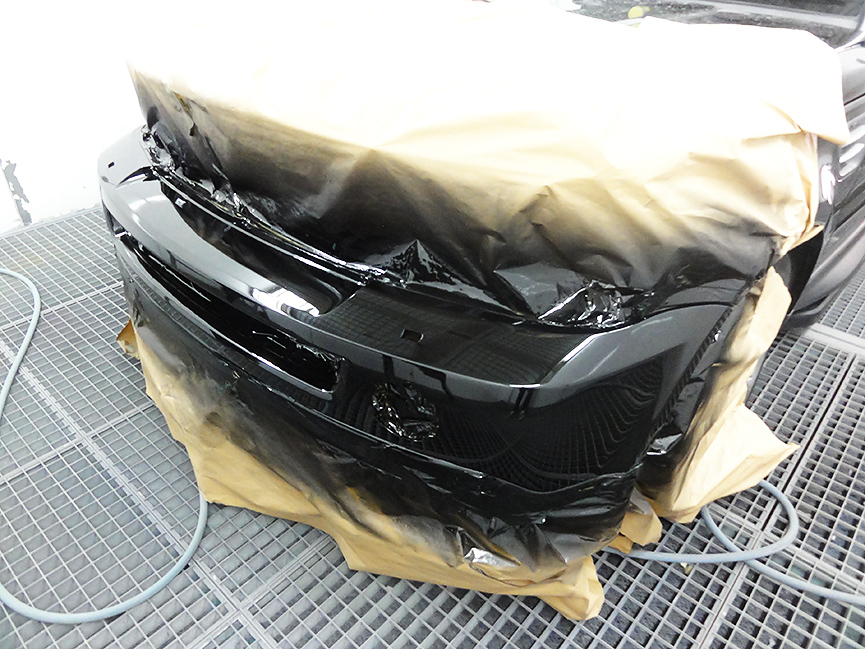
The Range Rover got cleaned before it went into the spray booth to reduce the risk of any dust contamination. Once in the spray booth, parts that don’t require spaying we’re covered and remaining ones cleaned with panel degreaser. Final refinishing is always done by our top specialist Tomas, one of the most talented sprayer we have ever come across. The Range was left on bake in our spraying oven for 30 minutes at 60 degrees.
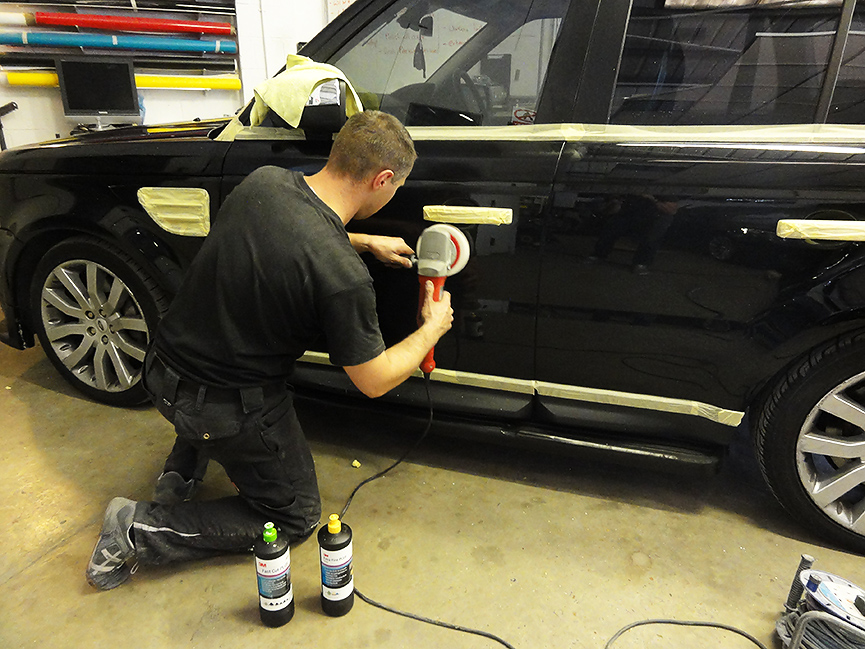
It is always a good idea to leave the fresh lacquer to harden naturally before attempting any polishing, even if panels were baked. Prior to polishing, the Range Rover we have masked up the trims for protection and marked those areas which needed most attention. At RT Performance, we use 3 stage 3M polishing compound, which ranges from coarser paste for removal of larger scratches and sand paper marks, to swirl remover and final shine polishing paste. For this particular car, we used 3000 grid sponge discs to work the scratches even more, before using 3 stage polishing.
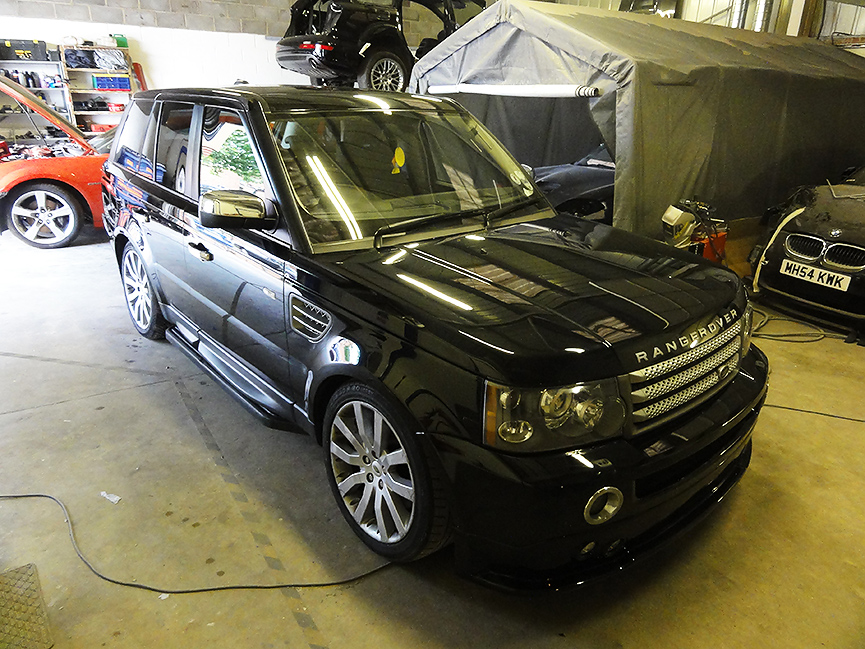
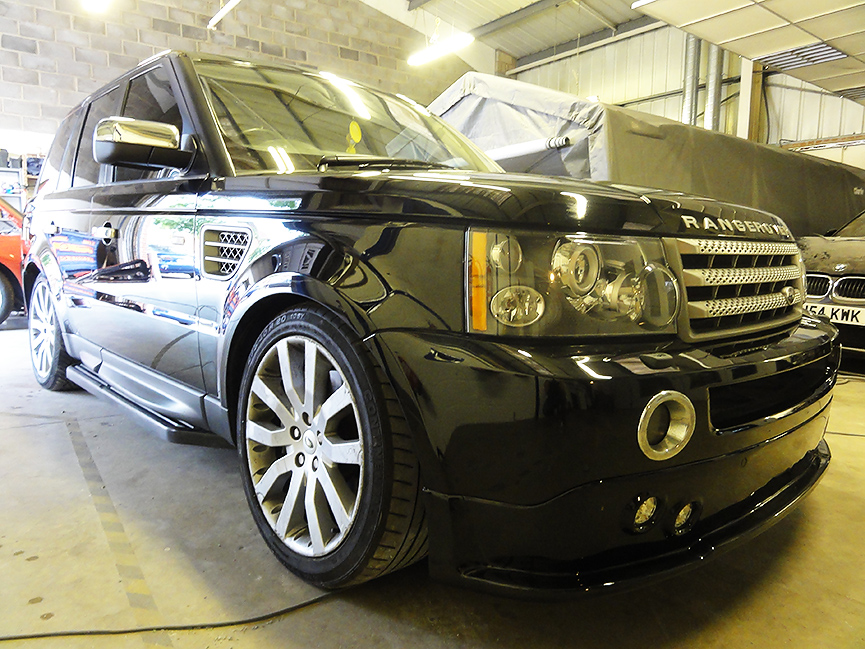
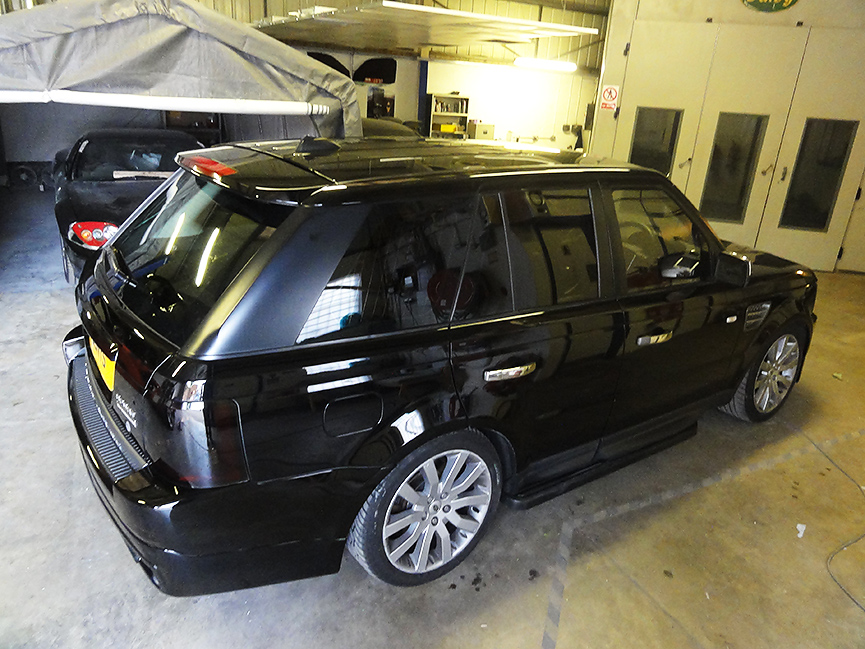
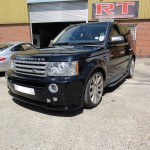
Once the polishing residue was cleaned off, the Range Rover showed its amazing transformation that RT crew worked hard towards. When the owner came to pick up his car he could not believe what excellent condition the paintwork was in. The car has definitely lost few years off its age but you can judge it yourself.

